
Raspberry Cherry Pie
Here's a pie that I've made before when I first started making pies. A friend of mine asked me if I could bake him a pie to share with his coworkers, so he came to the site, checked out the pies I've made, and chose this one. Check out the original pie here and you'll see how much I've improved.
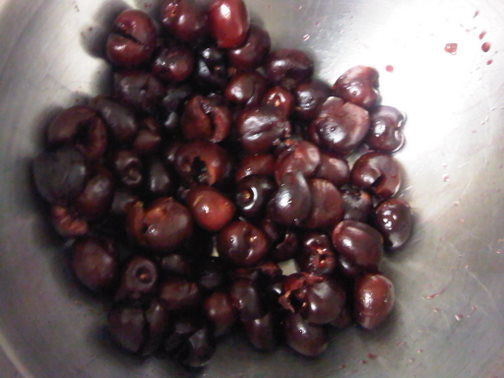
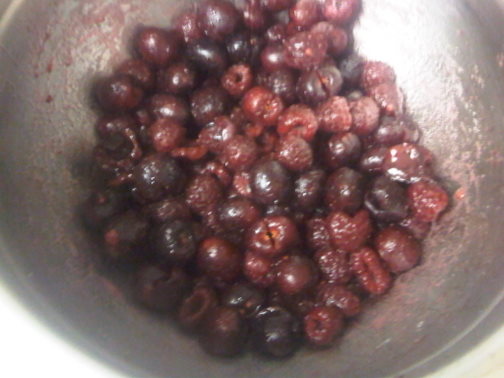
First step is to pit your cherries. This is a very messy and tedious job if you don't have a cherry pitter so keep some paper towels handy.
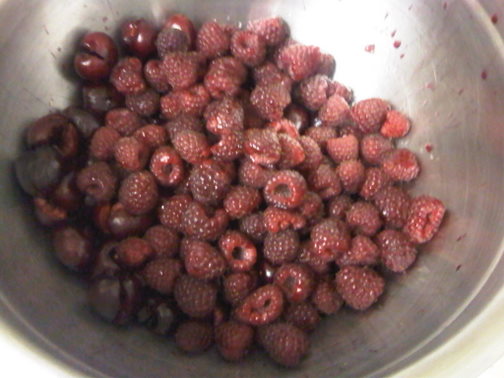
Add your raspberries.
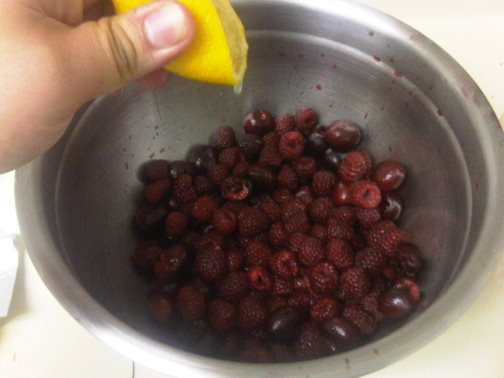
Squeeze your lemon juice over you pie, but be careful not to allow any seeds to fall into your mix.
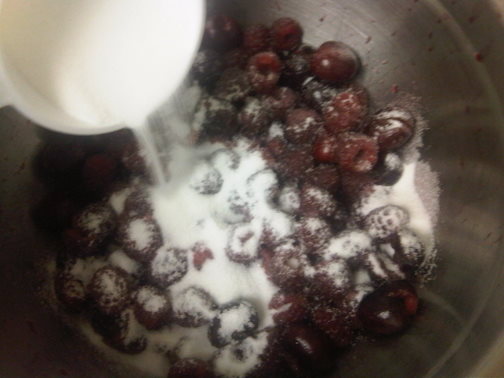
Add your sugar a little bit at a time.
As you add your sugar little by little gently toss so that it mixes evenly with the fruit.

This is the step where you would add your cornstrach. This is a very juicy pie so the cornstrach is important to keep your pie from being too runny. I recently purchased a product from King Arthur Flour called Pie Filling Enhancer and it does an AMAZING job of minimizing the runniness of your pie.
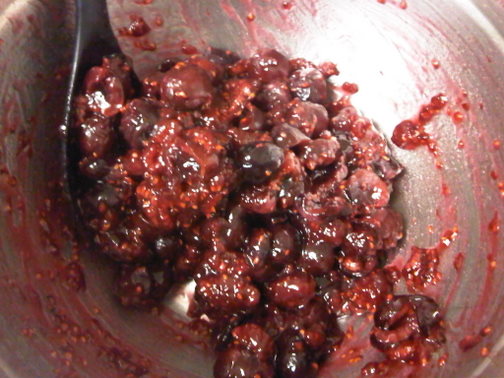
As you can see the pie filling enhancer has turned the juice of the fruit mix into almost a gelatinous consistency. Preheat your oven to 400°F
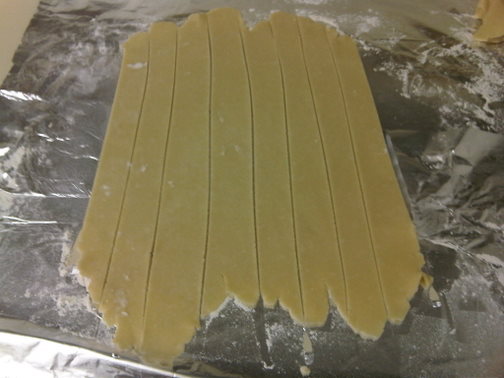
Grab your dough for your top crust and prepare it to your liking. I've chosen to use a lattice crust this time.
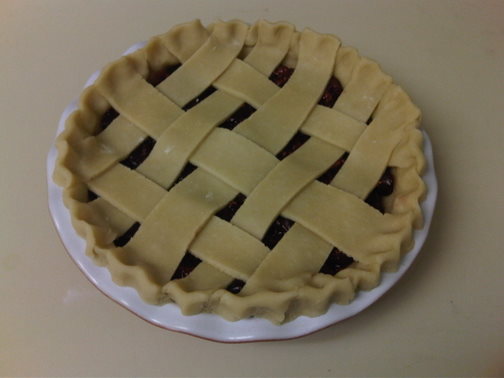
Lay down your lattice crust and pinch the edges together. Transfer your pie to your oven and bake for an hour reducing the temperature to 375°F for the last 15 minutes.
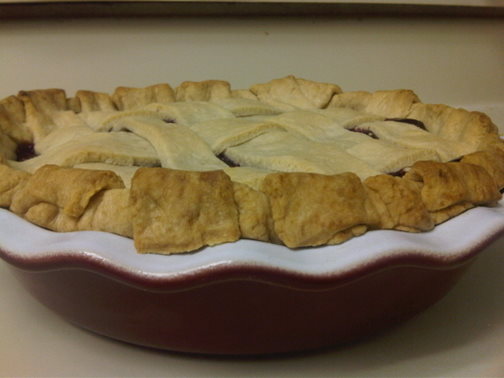
Remove your pie from you oven and allow it to cool. As you can see this pie is a lot nicer looking than the previous one I made. My friend was very content with the pie and said his coworkers loved it.